Welcome Enigma.
That's an interesting idea you have, to have a scale drawing of a human handy to compare all the parts to as you're building. I can't say exactly why, but I like it.
Glad you like that idea, unfortunately he was just a recruit and has now begun training. Actually it was just a quick drawing with a dry-erase marker as I'm adding my progress reports as (pun alert) sub-section of my blog; it'll give a decent reference for scale for those
heathens non-modelers out there who don't know what 1/144th is like, let alone the full sized beast.
[Edit - is there a specific command on this board to have a smaller thumbnail for the images? I've used enough messageboards that I can't keep track of each one's quirks! I linked these pics from my blog, the probable source of any issues, so I'll likely end up figuring it out later this week.

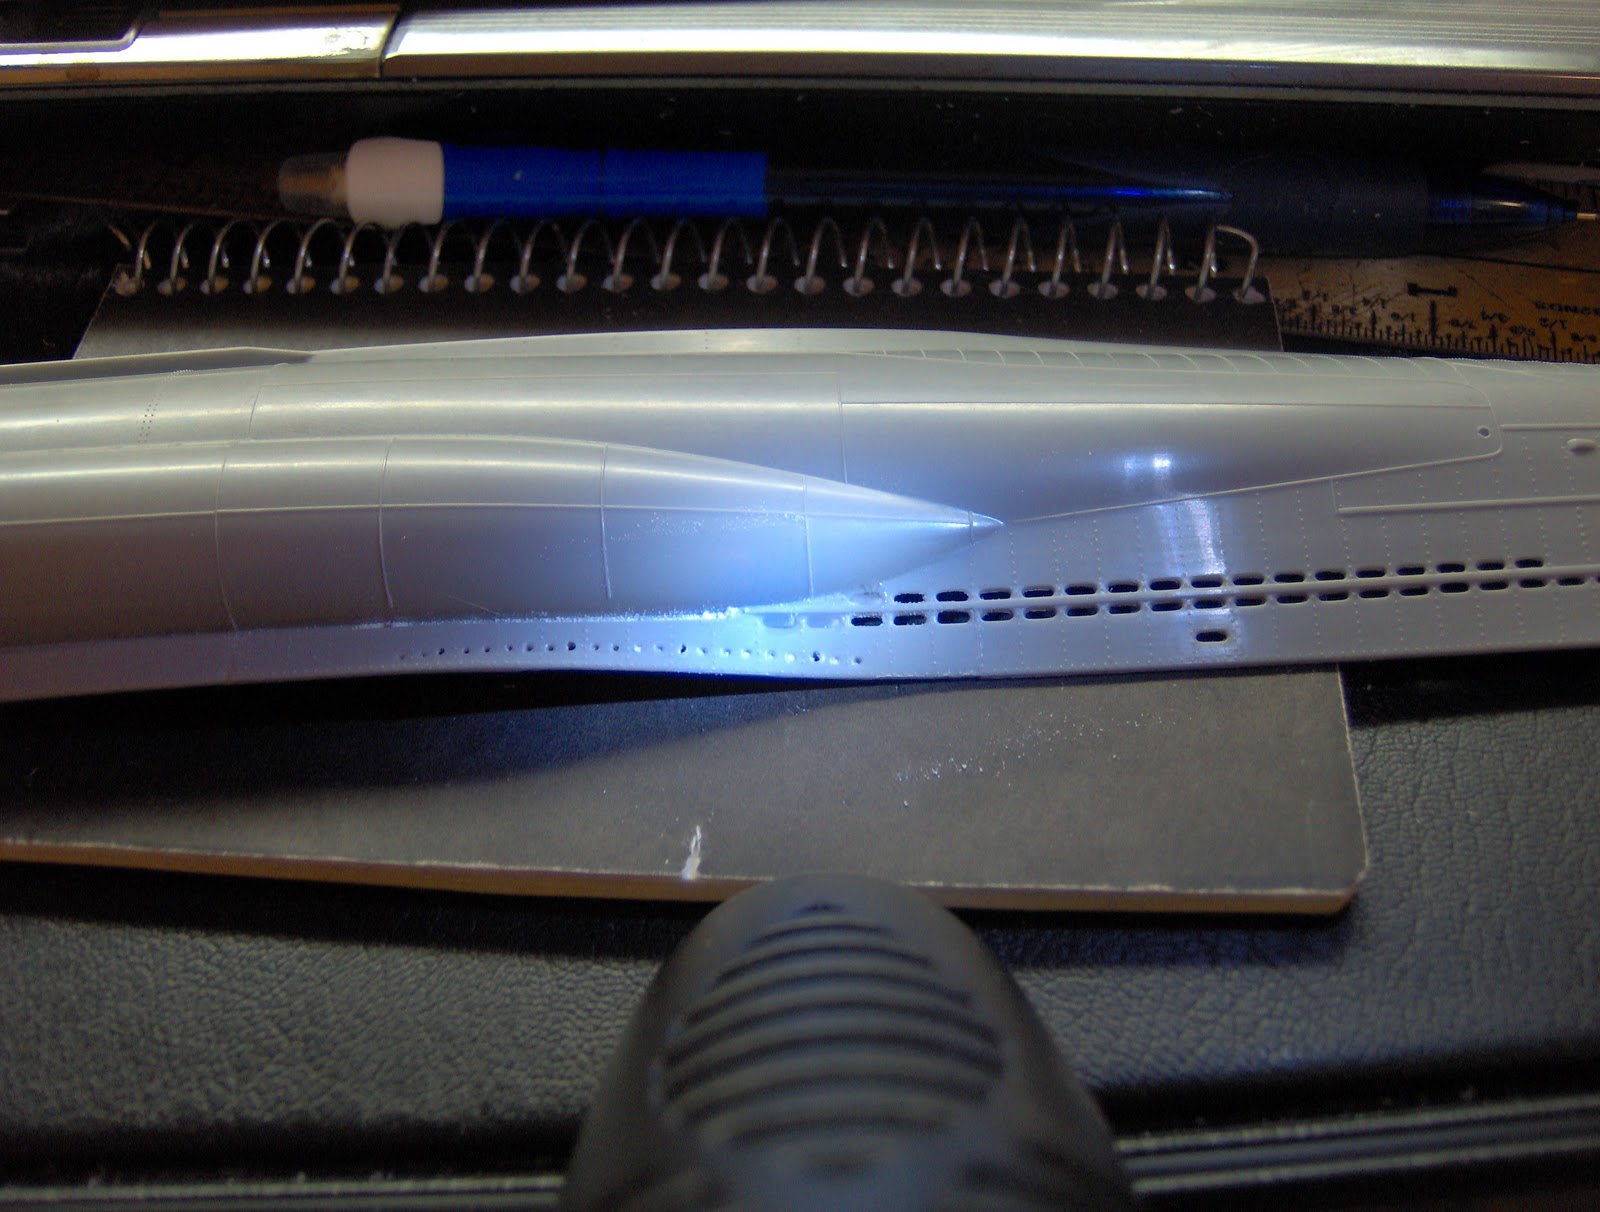
Here you see that I've opened up the drainage holes in the bow, I wouldn't be able to live with myself if I just left them as dents in the plastic and painted them black like the kit wants you to. U-69 didn't have the last 3 holes that are added on the model part, so I'm preparing to fill them up so later they won't really be there. I'm using a trick I picked up from earlier model work - baking soda and superglue make a really tough, really fine gap filler. I filled the holes up with baking soda, pressed it in a bit, and then added a drop of glue to each hole. As you can see, the filler dries up semi-clear and it'll sand very well.


Here's a shot of the bow, you can see I added the breakwater here. The edge of the join is still fairly fat, it was pretty near impossible to sand it thinner without breaking it, so I'll smooth it out later with some cosmetic surgery.

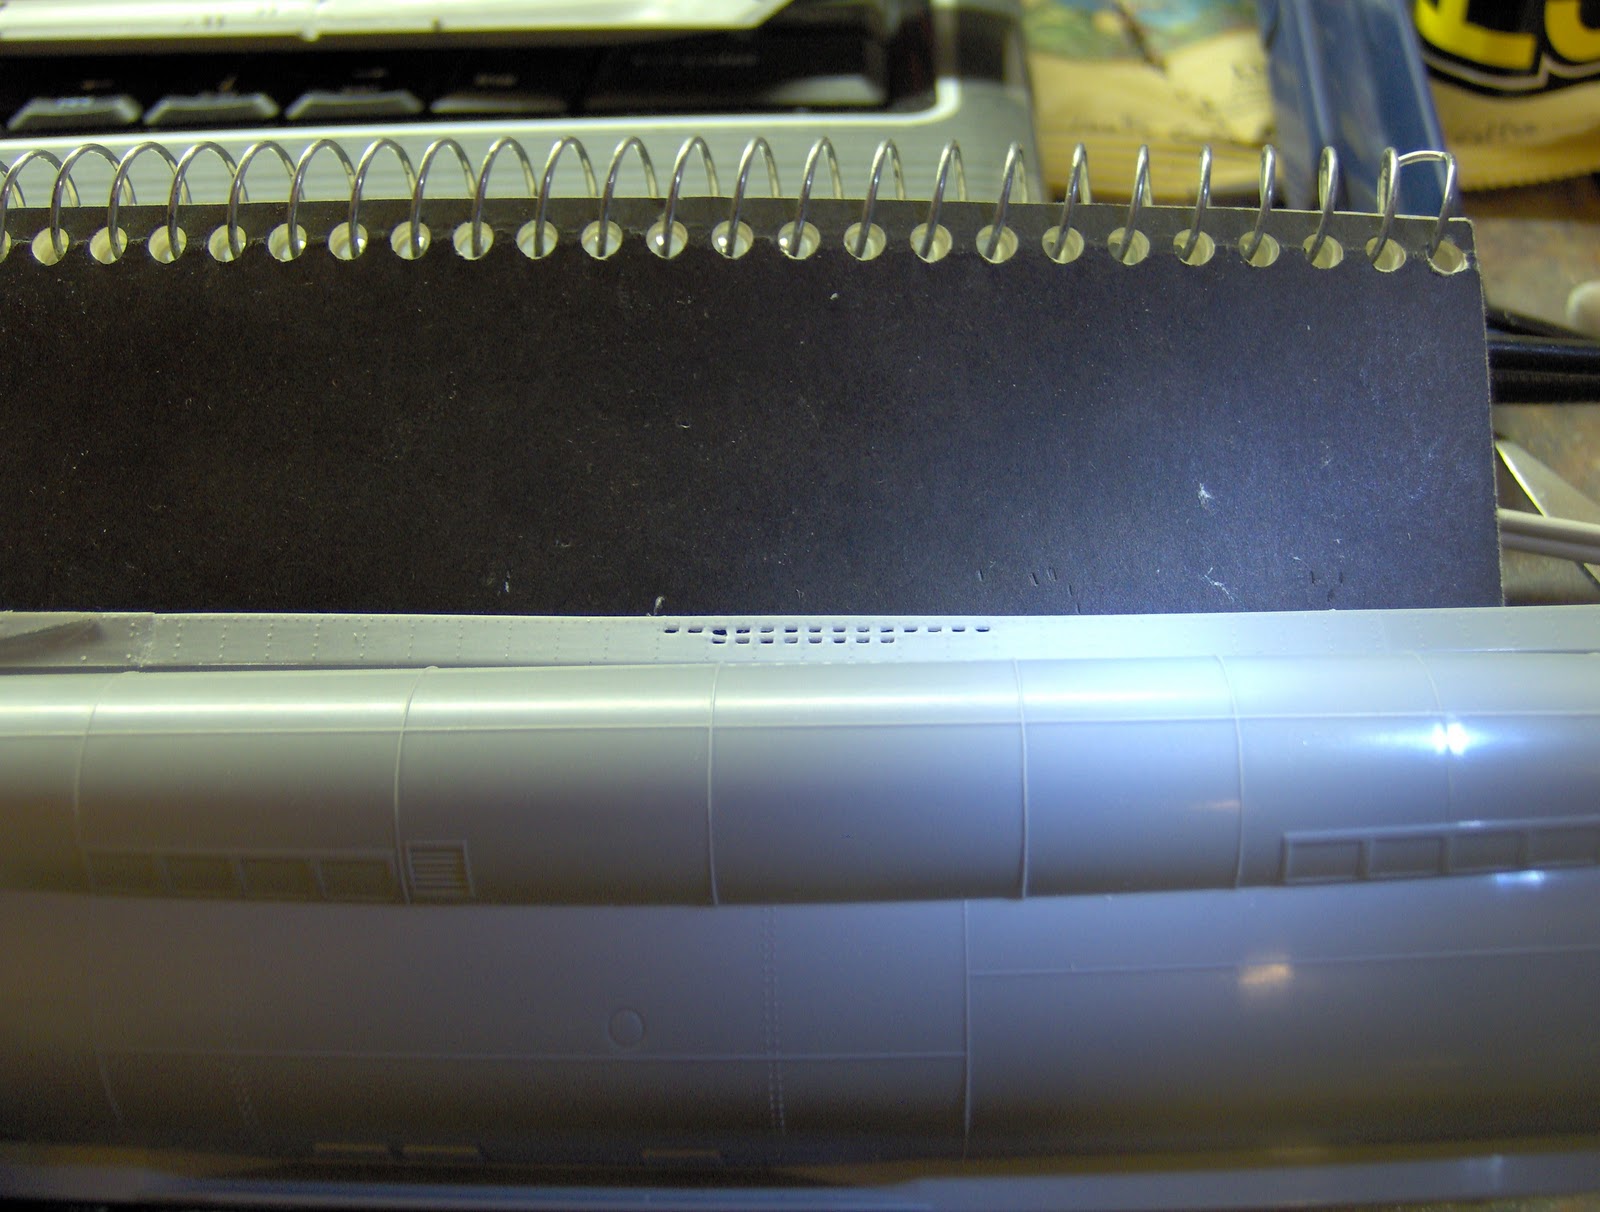
Some more small flooding holes. I used a 1mm flathead micro-screwdriver with the head filed down to a chisel to punch these out. This is the worse of the two sides, the picture was better though!

I'll be punching out the flooding holes in the stern as well; I've found that my mini chisel is small and accurate enough that it can work around nearly anything so there's no need to do all the hull modifications in one step at the beginning. I just pad the inside surface of the hole, having most of the support for the part coming from this, and have the rest of the part propped up enough to avoid any shaking. If the plastic is thin I can punch it with the chisel with finger strength, otherwise I'll use a small hammer to give it a gentle tap.
I've decided to not bother with aftermarket parts for this model, sadly the costs of acquiring them and the shipping don't scale very well. The parts that look plain bad with the model (the flak gun being a bumpy, limp 0.57mm piece of plastic) will end up being replaced with scratch-built parts. Who says I can't turn my Dremel into a lathe! The decking will require some more thought, but I think I have a plan already; I'll double check some measurements this week and let you know if it'll fly!

I also started a new round game of Silent Hunter 3. I've set up in the 7th flotilla and will be getting a VII-C as soon as they come out, U-69 of course! So far I'm on my first wartime patrol, headed through the Kiel canal and westward I went until off the shores of England. Sank a medium cargo ship there and another off Aberdeen. It's pretty neat to be building a scale model AND playing with the virtual equivalent in what's probably the closest thing to commanding the original! As luck would have it, my first torpedo was a dud - it hit completely perpendicular to the hull but no boom-boom. That's what you get for playing at 100% realism...