Author Topic: Finished Photos of My Revell 1/72 Gato-U.S.S. Cobia (SS-245)  (Read 25174 times)

0 Members and 1 Guest are viewing this topic.

Offline phillip1

  • Ensign
  • *
  • Posts: 48
Fellow modelers,

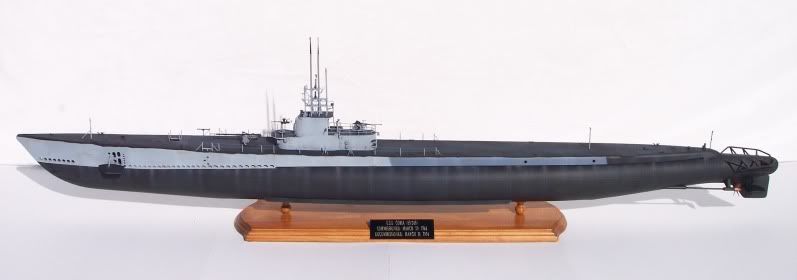
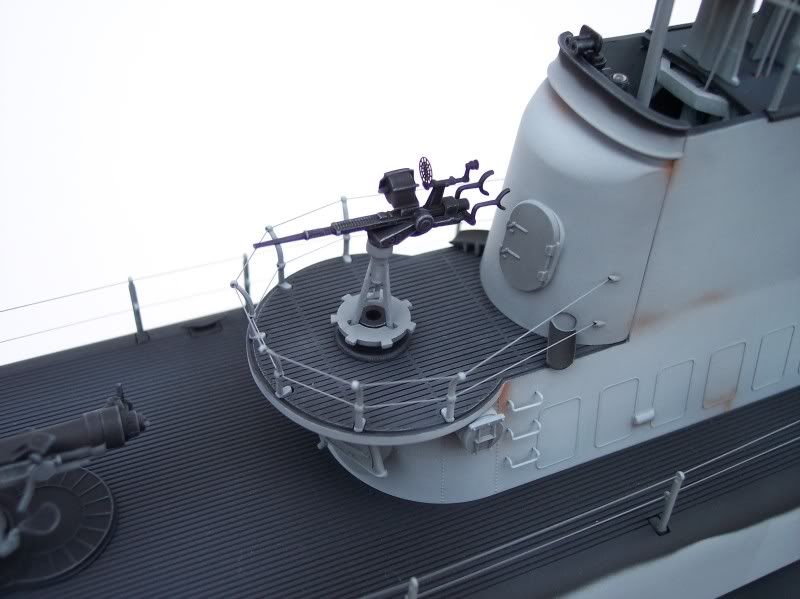
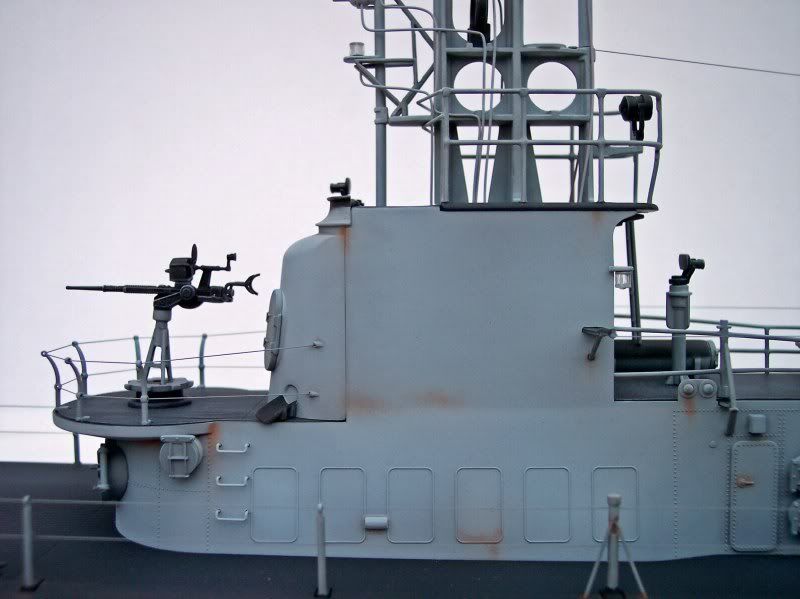
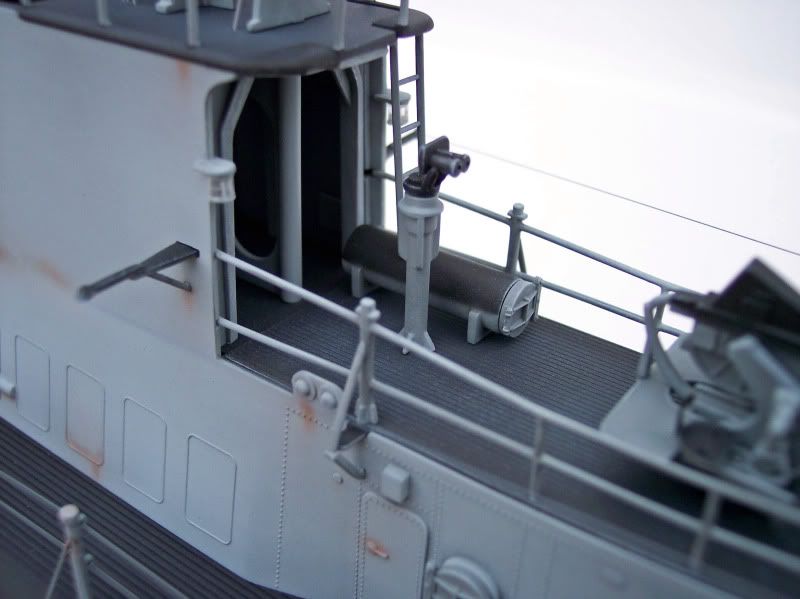
Below are photos of my Revell 1/72 scale Gato Class U.S.S. Cobia (SS-245) WWII U.S. Navy Submarine.  Cobia was laid down and built by Electric Boat Company in Groton, CT.  She was launched on November 28, 1943 and commissioned on March 29, 1944.  During WWII Cobia conducted six war patrols.  Four were considered “successful” and earned battle stars.  She is credited with sinking a total of 16,835 tons of shipping.  During the war only one Cobia crew member was killed due to enemy action.

Cobia was placed in reserve in May 1946, but recommissioned in July 1951 as a training vessel.  She was placed in reserve again in March 1954.  In December 1962, she was redesignated an Auxiliary Submarine (AGSS-245), and served as a training platform.  In July 1970, Cobia was struck from the Naval Register and towed to Manitowoc, Wisconsin to serve as an international memorial to submariners.  In 1986, she was declared a National Historic Landmark.  Cobia is permanently docked at the mouth of the Manitowoc River.
I built this model in 2008.  Listed below are the modifications/additions that were made:
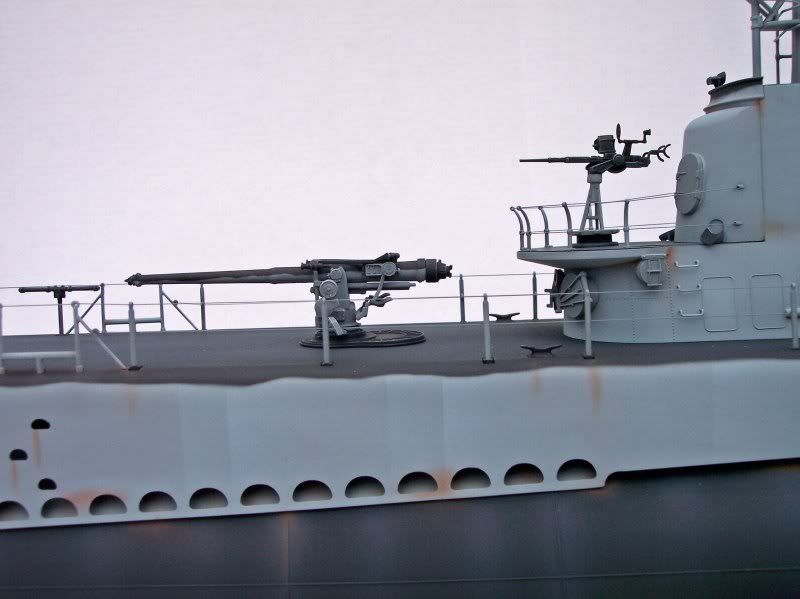
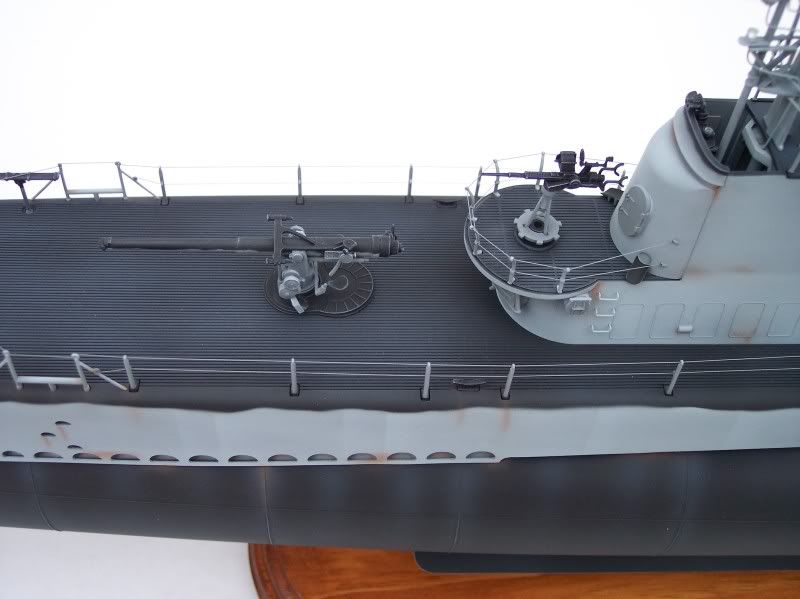
>An Eduard photo-etched detail set was used-
>Fishing line was used for the rigging details-
>Small insulated wiring was used as piping connections on the tower assembly-
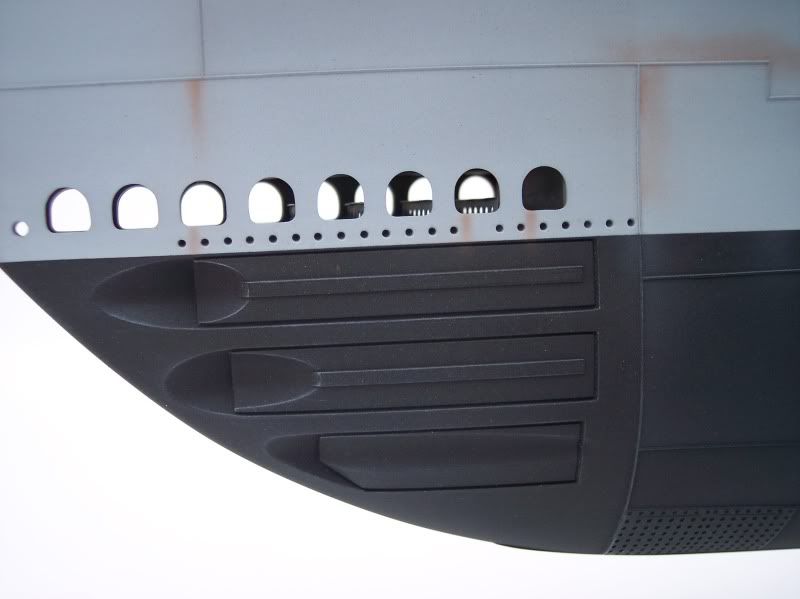
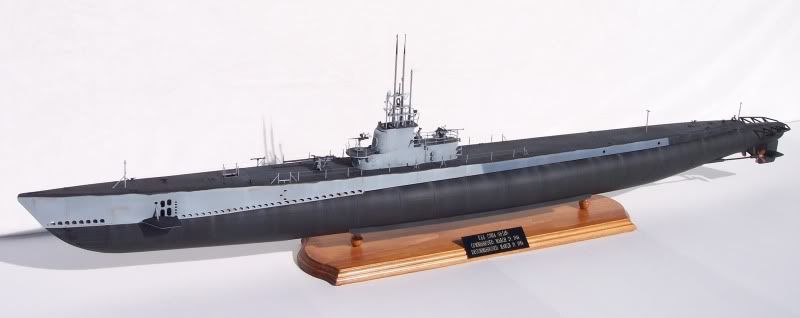
Revell based their kit on the real Cobia, now on permanent display.  I built it as the Cobia to avoid the major modifications that might be required to accurately portray another boat.  The model was finished in Camouflage Measure 32/9SS, issued for submarines by the U.S. Navy Bureau of Ships in June 1944.  It called for everything below the waterline to be flat black.  Above the waterline an extensive blending and counter shading of various flat grays on the vertical surfaces was used, with flat black on all of the horizontal surfaces and the aft end of the boat.  This camouflage was very effective for surface operations, at night and on overcast days.  I took care to make sure the demarcation line between each color was feathered and had an irregular pattern.  After the painting was complete, random rust stains were applied with pastel dust.  This included the top of the hull, except the middle section where teak wood was located.  Paint brushes and Q-tips were used to create different kinds of rust streak and stain patterns.  Interestingly, Revell included a broom as part of the antenna section.  Brooms were sometimes mounted on top of the periscope tower by submarines returning from a patrol that was considered a successful “sweep”.  This was great kit to build and is still one of my favorites.  I hope you enjoy the photos.

Phillip1


Offline phillip1

  • Ensign
  • *
  • Posts: 48
more gato photos...


Offline SG

  • Admiral
  • *
  • Posts: 661
    • https://3xblackcats.wordpress.com/
Phillip, first of all welcome aboard. Then Congrats on both the Gato and the type VII. Flawless builds, neat painting and very subtle weathering. It works!

Offline phillip1

  • Ensign
  • *
  • Posts: 48
SG,

Thanks for the welcome and the compliments!

Phillip1

Offline Rokket

  • Administrator
  • *
  • Posts: 2,362
  • Gender: Male
  • Submarine Enthusiast
    • AMP - Accurate Model Parts
Really nice paintwork and lovely display, very well done! Any adventures while building?
AMP - Accurate Model Parts - http://amp.rokket.biz

Offline phillip1

  • Ensign
  • *
  • Posts: 48
Rokket,

Thanks for the compliment.  As for building this model, I remember that painting each section required a good bit of planning, since you can see into so many areas of the submarine.  Also, due to its size (52" length), handling during assembly and painting was always a problem.  This is my favorite submarine model (so far).

Phillip1

Offline Rokket

  • Administrator
  • *
  • Posts: 2,362
  • Gender: Male
  • Submarine Enthusiast
    • AMP - Accurate Model Parts
Well nicely done!
AMP - Accurate Model Parts - http://amp.rokket.biz

Offline OldNoob

  • Commander
  • *
  • Posts: 327
wonderfully clean gluing joins, really worthy of display :D

Offline phillip1

  • Ensign
  • *
  • Posts: 48
OldNoob,

Thanks for the compliment.  It is appreciated.

Phillip1

Offline 42rocker

  • Commander
  • *
  • Posts: 312
Got to Love photobucket. Would like to see the pics if you get a chance to post them again it would be great..

Later Tim

Offline wildspear

  • Silversides King
  • Moderator
  • *
  • Posts: 295
  • Gender: Male
  • Grand Zebra
Re: Finished Photos of My Revell 1/72 Gato-U.S.S. Cobia (SS-245)
« Reply #10 on: 21 Jan , 2019, 07:30 »
nice build

Offline phillip1

  • Ensign
  • *
  • Posts: 48
Re: Finished Photos of My Revell 1/72 Gato-U.S.S. Cobia (SS-245)
« Reply #11 on: 11 Jan , 2020, 12:01 »
Fellow Modelers,


The original photos are being reposted using Postimage.


Thanks


Phillip1

Offline SG

  • Admiral
  • *
  • Posts: 661
    • https://3xblackcats.wordpress.com/
Re: Finished Photos of My Revell 1/72 Gato-U.S.S. Cobia (SS-245)
« Reply #12 on: 15 Jan , 2020, 10:59 »
Well done!!!

Offline averageuser

  • Midshipman Cadet
  • *
  • Posts: 2
Re: Finished Photos of My Revell 1/72 Gato-U.S.S. Cobia (SS-245)
« Reply #13 on: 01 Feb , 2024, 16:38 »
She looks beautiful. (And nice torpedo shutters!). Very well done.