Hi again,
Managed to finally start some work on the sub itself after delving into the research.
First off, I decided I wasn't going to go in for a great deal of internal detail for the hull (except in the schnorkel bay areas).
With that in mind, I opted for a basic internal structure that you won't really see through the slots.
I used B&Q smooth surface pipe insulation for a 'sort of pressure hull' (I really just wanted something with a smooth top rounded surface in the interior of the boat). This stuff was great for my purposes as it is very light, adheres with polystyrene glue, is very easy to carve to shape
and will bend and contract to fit into spaces.
So this was where it begins (and it's a small beginning but who knows where it will end).
I kept the kit internal frames for hull support after modifying them to not show up through the hull vents (I've kept top sections to strengthen the upper hull when I chop the lower hull off (gulp!).
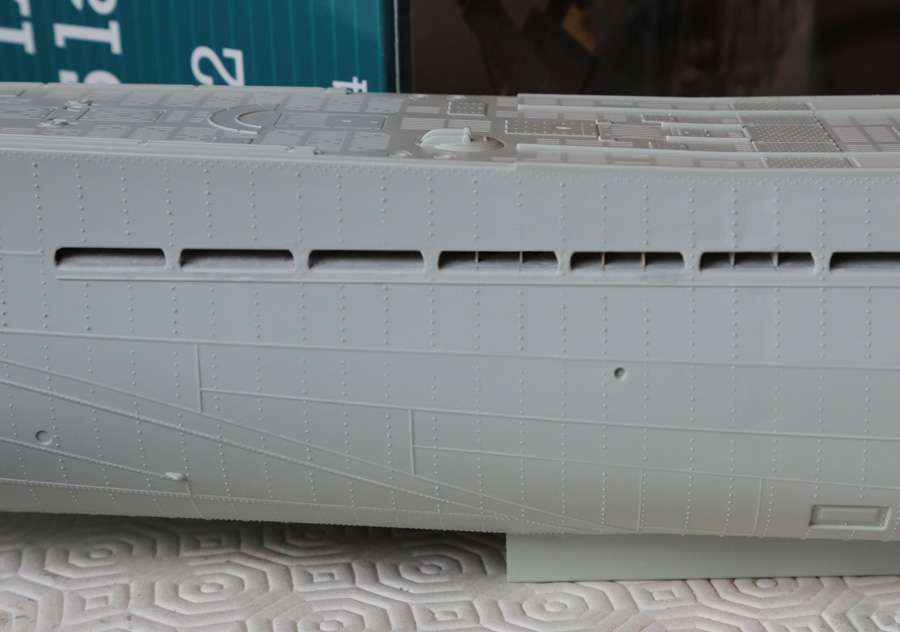
Onto this I've attached the 'shelves' which form the tops of the drainage vents (sort of similar to real thing cross sections)-see rough shot.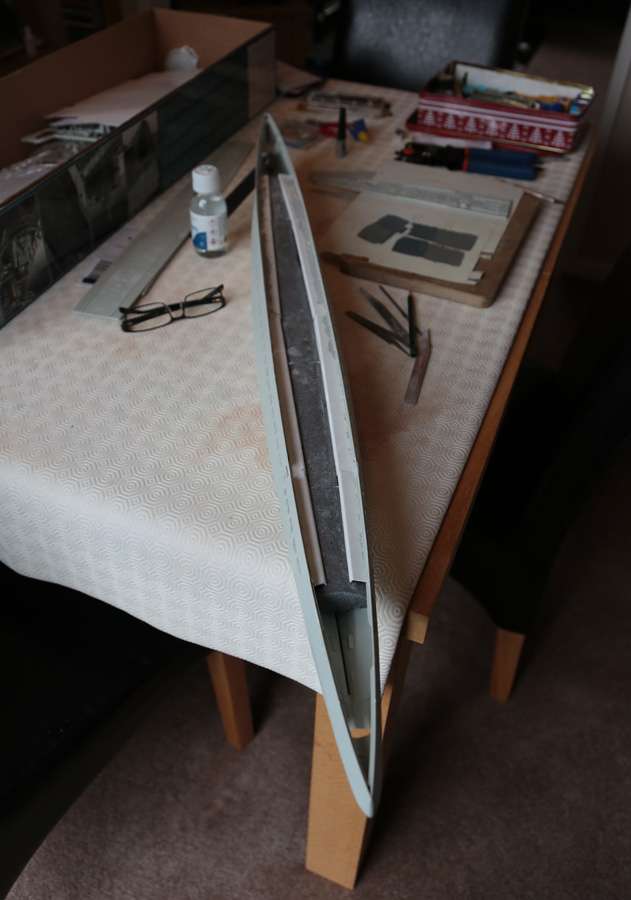
With the 'shelves' in place, you can't see through the sub from one side to the other.
There's been a lot of filing, thinning out the pillars in between the drainage vents, so this afternoon, I couldn't resist doing a small bit of
actual constructive work, by seeing how the 'baffles' might look in the vent holes. I don't think they look too bad myself, but just in case,
I can always adjust the swell if it doesn't look right.
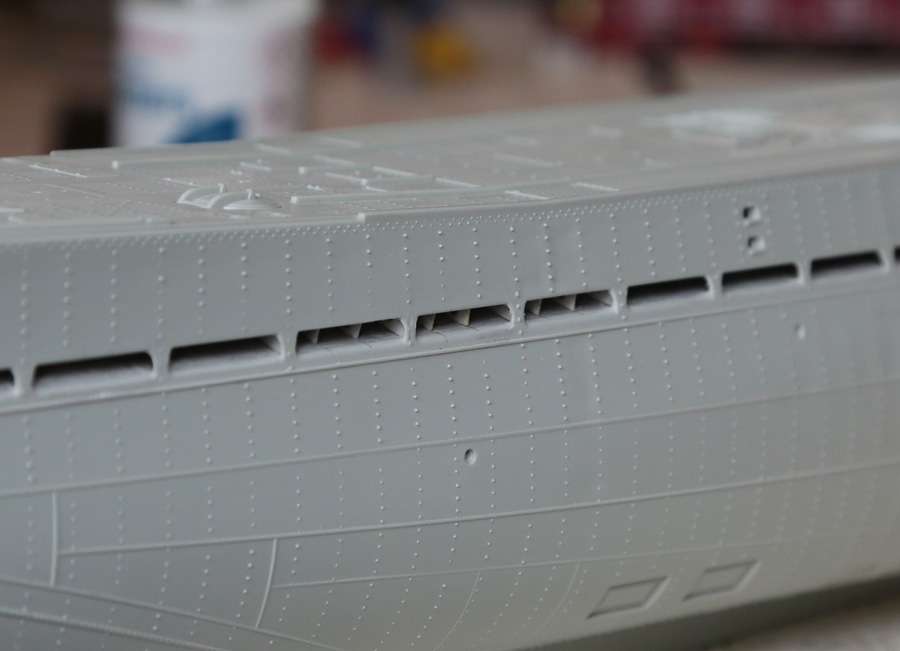
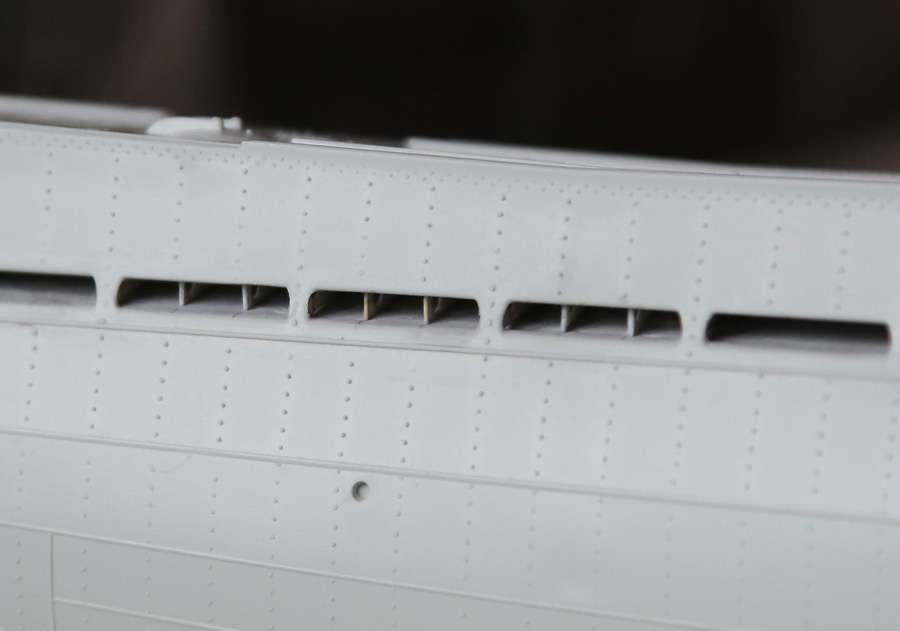
I'd like to add a thin strip to replicate what I've seen on the originals in photos that runs along the top of the vents but I'm not sure what to use for that yet.
It's on the U-534 and U-889 but not on the U-505 from what I can see in photos. Anyone replicated this in the past and have any tips?
The plastic deck's just in place in the photos to make sure nothings's altered width-wise at the top and to keep shape.
Cheers Bob.

